-
Here is where I will keep a running list of items that I think you will probably need for your lab. Please comment if you think I could use something else!
- PVC pipe system - you can build this, but we had PTO money so we bought one that was already precut. It came in a big box and we had to assemble, but it was worth it. If you have a shop class that needs a project, this may be it! Design plans are all over the internet.
- UV light - Plants cannot grow indoors without that light.
- UV Tent - absolute must to keep from burning out the eyeballs of everyone!
- Large but low-walled plastic bucket - Put under the PVC pipe system to hold the water and water pump.
- 5-gallon bucket(s) - I have 2 because that is about how much water is needed for this particular setup. I fill them up about 3/4 full in the custodian's room and carry them to my classroom. It's my workout for the day! I change out the water and nutrients about every 2 weeks. Once a month I give the bucket that holds the water and water pump a good cleaning by wiping it out after draining the water.
- Sharpie - Label EVERYTHING!
- Paper towels - I spill water and nutrients everywhere. I also use them to wipe down the pipes when algae/mold start to grow
- Old Towels - Nothing like a leak over the weekend to learn why you need these...
- Plastic bucket - I hold all my supplies in this. Plastic is best when working with water. I've had to modify the size as I have learned what I can and cannot do.
- Zip ties - I used these to attach the UV light to the tent and to strap cords and whatnot to the frame.
- Large, flat plastc tray - to start the seeds
- Random sized plastic buckets/containers - I use these to organize things like the small plastic transplanting baskets, seeds, sponges. They are also used for soaking the sponges, holding groups of seeds that have started sprouting in the sponges.
- Various sized plastic cups - Put plants in to give to people after they have matured, measure nutrients, etc.
- Transplant baskets - These are the things that you put the sponges in. I keep reusing them (after I clean them in a disinfectant)
- Seedling sponges - after the seeds pop out some little feelers (this occurs (usually) after you have taken the soaked seeds and put them in-between wet paper towels for about a week)
- Clorox - to disinfect everything between the shutting it down (like during the summer) and starting them up. I also use it to clean the baskets.
-
Catching Up
Posted by NIDIA FERNANDEZ-LEE on 3/17/2021So, life happened. No need to discuss why the blog has been silent lately. We've all lived it.
Once it looked like the threat of being sent home (again) was over, I decided to start up the lab again. This time I chose vegetables to try. Let me tell you, Cherry Tomatoes LOVE the hydroponics lab! I am running out of people to give them away to! I am keeping a few to see if they produce actual tomatoes, but from seed to plantable plant, we are looking at 3 weeks! Crazy!
Things I learned this go around:
Flowers and vegetables at the same time may not be a good idea. The tomato plants took over the light and most of my flower seeds died due to lack of light. Stick to one or two types of seeds within a particular category: vegetables, fruits, flowers, herbs.
Rotate plants around so that there is even distribution of light and nutrients. Plants at the type grow at a super speed and the bottom ones will die if left there.
Tomato plants have CRAZY LONG roots!
Keep a stock of sponges on the side so that if some plants don't make it, you can start some new ones.
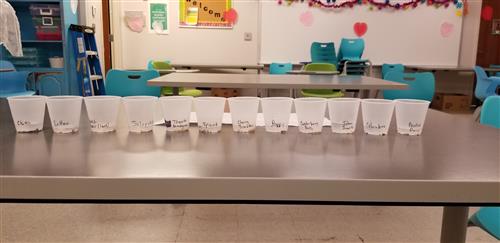
Started with way too many seed varieties
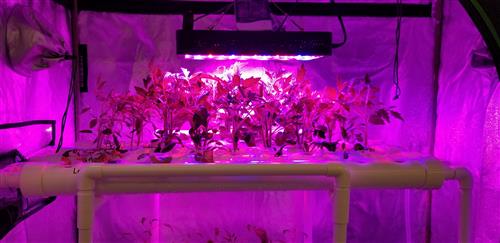
Overrun of tomato plants!
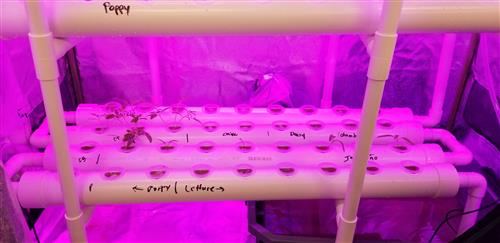
Sad looking bottom seedlings
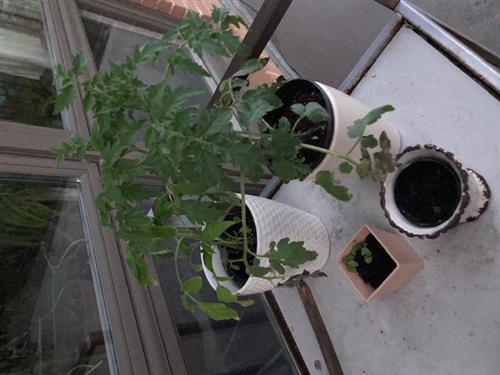
One of the teachres took some of the plants home and put them in a container. They look good!
-
Getting the Party Started
Posted by NIDIA FERNANDEZ-LEE on 1/13/2020So I got the seeds and read the "translated to English" instructions from the Hydroponics kit. First thing I needed to do was soak the seeds in water for about an hour. I found these cute boxes in my closet and decided to use them to keep my seeds organized. What a bad idea.
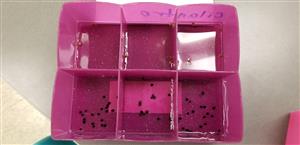
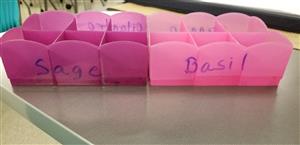
While the boxes did keep my seeds organized and I was able to write on the box with a dry-erase marker, getting the really, really tiny seeds out of the boxes was a PAIN! I had to fish seeds out only a few at a time (or in some cases, one at a time). I gave up on getting all of the Oregano. I did not realize those seeds were so tiny. I was using a plastic spoon, pouring, fingers, etc, to get them out.
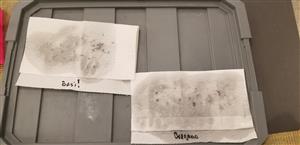
Next instruction was to wrap them in a wet towel and set them in a dark place. I labeled the paper towels so I wouldn't get confused and put them on top of plastic storage bucket tops.
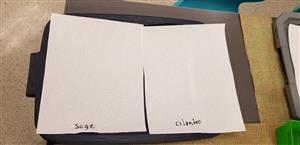
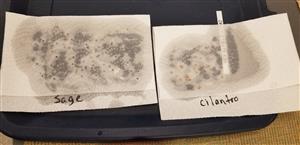
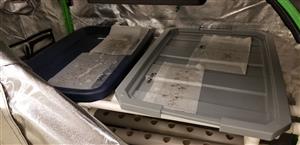
Then I stuck the seeds in the lab tent because they were supposed to be in the dark. This all happened last Thursday.
Today is Monday and I went to check on my seeds which had been left to fend for themselves for the weekend. Paper towels were dry and I just knew I had killed all the seeds. But I was wrong!
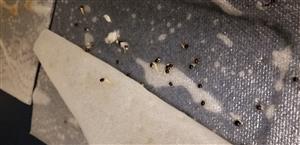
Sage Sprouts!
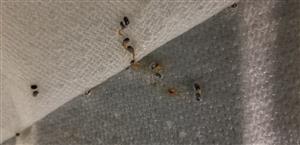
Basil Sprouts!
Ha Ha! I have some kind of root/sprout thing going on!!! Guess I can move on to the next set of instructions in the manual!
Saving that for the next post!
-
Starting Over
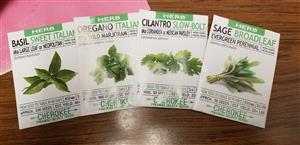
Posted by NIDIA FERNANDEZ-LEE on 1/7/2020 5:00:00 PMSo, the seeds that I had planted from an unnamed super home improvement store died on me pretty quickly. I know that I do not have a very green thumb so I know this part is going to be a challenge to me. One of the kind officers here in the Mountain Brook community brought me some heirloom seeds from his local hardware store. They are Italian Oregano, Slow-Bolt Cilantro, Broadleaf Sage, and Sweet Italian Basil. I kill herbs at my house but I am hoping that these seeds are a bit hardier and can outlast my poor planting skills!
-
RetroBlogging
Posted by NIDIA FERNANDEZ-LEE on 1/7/2020So here is where I need to do some retroblogging. I wanted to document my progress but got caught up in the end of the semester activity and never found time. This particular article is about the rabbit hole of Amazon.
I needed to do some research on hydroponics labs so I went down the internet rabbit hole and looked at all kinds of sites. I found videos from universities and from "homegrown" farmers. Let's just say there are a lot of interesting people out there that grow some interesting things in their homes.
I also went on Amazon to see if they had supplies for hydroponic labs. This is where I truly got lost and truly got overwhelmed. There are so many things out there that will help you grow plants in your home! Some are really cheap and some are really expensive. Since I do not have any windows in my classroom or immediate access to the outdoors, I had to also look at lighting and containment of water.
The next installment of this blog will be about the different types of labs there are out there and which one I decided to buy for our classroom.
I like keeping these short. No one wants to read a lot of bad writing.
-
Hydroponics Lab Evolutionary Start
Posted by NIDIA FERNANDEZ-LEE on 11/12/2019My Innovators and Makes class uses all kinds of sensors and probes (inputs and outputs) in order to learn about physical computing. In a conversation last school year with another teacher about the class, the other teacher started talking about gardening and how we could use sensors for the garden. Because I did not have a permanent classroom at the time, I let the idea sit on a shelf. I was not sure how I would manage an outdoor garden when I was traveling across the school several times a day.
Fast forward to this school year and I have a large classroom near an outdoor space. Again, the conversation about a garden was started but this time, because my new classroom was so large, the discussion went to a hydroponics lab! I had already set up an area where students could bring in broken tech and do an "autopsy" on the tech. I still had space and outlets to put something else fairly big and still house my kids and their building materials. I love to garden and I had been approached before at another school I taught at about starting a hydroponics lab. Now that I knew more about my sensors and what they could do, growing plants in the classroom seemed very feasible.
And to let the world know, the difference between hydroponics and aquaponics has to do with fish! Aquaponics is growing plants on top of a fish tank and letting the fish poo fertilize the plants. Definitely not ready for that (who is going to take care of the fish in the summer?!?!?!)

