Blog App
-
Catching Up
Posted by NIDIA FERNANDEZ-LEE on 3/17/2021So life happened. No need to discuss why the blog fell silent for a while. We all lived it.
So after the threat of being sent home (again) subsided, I decided to start the lab up again. This time I decided to try vegetables and flowers. First lesson: these don't grow in the same environment as well. Stick to one or two types of seeds for each category of plants: vegetables, fruit, flowers, herbs.
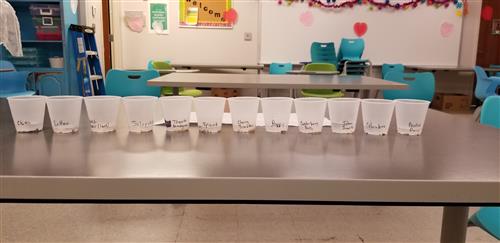
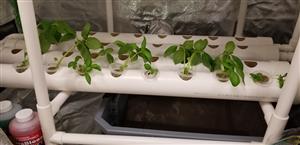
Cherry tomatoes LOVE the hydroponics lab! From seed to plantable plant, 3 weeks time! Crazy! I had so many plants in the lab, I had to give them away to teachers here at school.
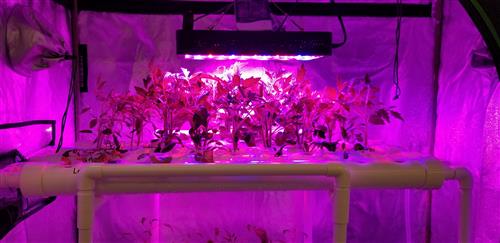
Another thing I learned this round: rotate the plants around. The cherry tomatoes grew so fast that they took over the light of the whole tent so the slower plants at the bottom pretty much died. They also have super long roots! I have to keep an eye on them so that they don't clog the pipes.
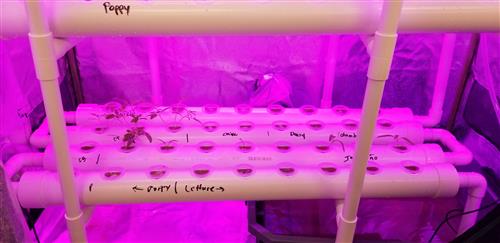
One last thing to remember: Keep some of the sponges around in case some of the sprouts don't make it. You can start seeds at any time and add them to fill open spots.
I just found out that power to my part of the building will be turned off through most of spring break. Now I have to brainstorm how I'm going to keep my babies alive...
-
Starting the New School Year
Posted by NIDIA FERNANDEZ-LEE on 8/4/2020Well, I think it is safe to say that the results of the Hydroponics lab went inconclusive. I had to bring the plants home since we shut the school down. I planted those darlings in dirt and they ended up dying. I do not have a green thumb if the plant is in dirt! Once we get back to a certain sense of normal (even if it is a new normal), I will get back to the Lab!
-
Making use of some free time
Posted by NIDIA FERNANDEZ-LEE on 2/6/2020So we had some really bad storms come through the area last night/this morning and parts of our school were flooded! Teachers came in to assess damage and work in their classrooms while students stayed home and worked on eDay assignments.
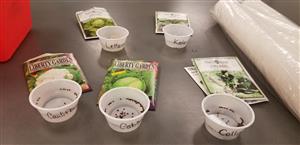
I decided to start my new set of seeds that came in (I love our MBPD! They are just a wonderful bunch of people!). I got Kale, lettuce, collards, cabbage and cauliflower. Right now they are soaking and then I will get them into the wet papertowels so that the seeds can germinate. I will have to find a new 'dark place' for them to sit since the lab is now lit up for the current plants. One step at a time.
-
Week 1 Growth
Posted by NIDIA FERNANDEZ-LEE on 2/3/2020So, it has been a week since I transplanted the seedlings from the buckets to the cups in the tubes. Just as a refresher, this is what they looked like when I put them in:
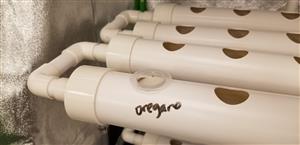
Oregano on Day 1
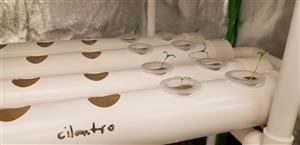
Cilantro on Day 1
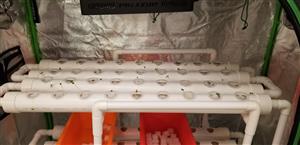
Sage on Day 1
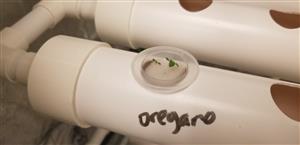
Oregano Week 1
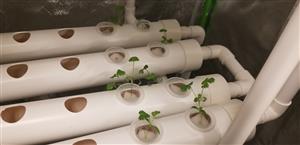
Cilantro Week 1
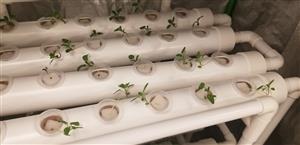
Sage Week 1
My mind is competely blown with how much they have grown in a week! I have never grown herbs, but this seems really fast. I am just thrilled that some have survived and now they are thriving!
-
Side Experiment
Posted by NIDIA FERNANDEZ-LEE on 1/31/2020I had so much trouble getting seeds to start that have I decided to experiment with herbs that are already established. I stopped by Publix and grabbed a few herbs (Rosemary, Basil, Mint). I cleaned their roots of dirt and transplanted them into the growing cups. They got dropped in different locations so I would not get confused. (And now that I am typing this, I need to spread out the Basil to different levels to see if the nutrient solution has different concentrations during different levels of the lab. I think testing the light levels would be seen with this, too).
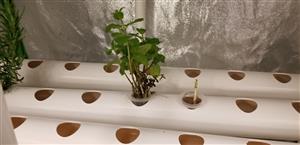
Mint
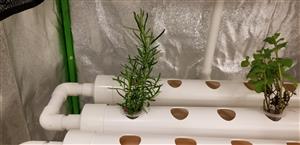
Rosemary
Basil
-
pH Testing
Posted by NIDIA FERNANDEZ-LEE on 1/31/2020I have not set up my pH monitor yet (I do have it powered but I have not programmed it to read the water). I do have a pH testing kit that came with a General Hydroponics pH Control Kit that I bought for the plants. I had read that adding nutrients to the water could offset the pH and would need to test the water every week or so to make sure it was burning the plants!
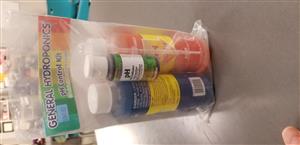
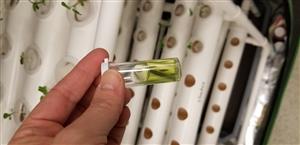
Pretty simple stuff. Take the pipette, put water in the included vial, add a few drops of the pH Test Indicator and wait for it to turn colors. Color of green to yellow means the pH is okay for the plants. Looks like a win for me this week!
-
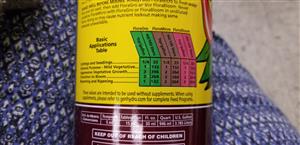
FloraGro
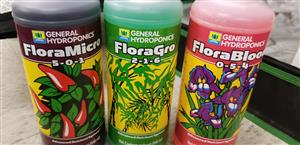
Posted by NIDIA FERNANDEZ-LEE on 1/27/2020I'm really into organic food but I needed to test out some hydroponic nutrients that I found on Amazon. I have no idea if they would be considered "organic" and that is an investigation for another day. For now, I just want to see if these things work. I put a capful of each in the bucket of water and stirred. Let's see what they look like after a few days.
-
Transfer Day!
Posted by NIDIA FERNANDEZ-LEE on 1/27/2020Sweet babies are ready to be transferred to their transplanting basket! They have roots long enough for them to reach into the water through the sponge and basket!
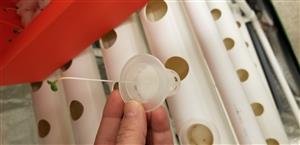
Sage is Rocking It! (turn head left)
Some plants did not make it out of the buckets, sadly.
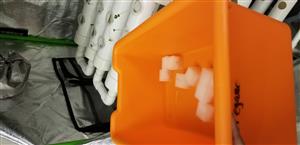
But some did!


-
My Little Babies!
Posted by NIDIA FERNANDEZ-LEE on 1/24/2020Look at the Sage and Cilantro! They are growing up to be such cute little herbs!
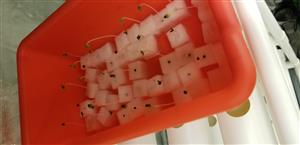
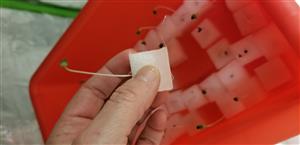
(turn head left)
-
Seeing Green!
Posted by NIDIA FERNANDEZ-LEE on 1/22/2020Ha Ha! I am beginning to see sprouts come out of the foam squares! This means I can turn on the LED UV lights and! Hence the pink tinge to the pictures. (BTW, if you stare at the pink light long enough that is stops looking pink, then when you turn away, everything looks green. And you've probably damaged your eyes while you are at it.)
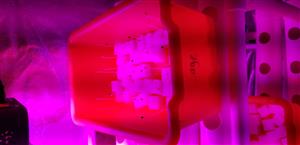
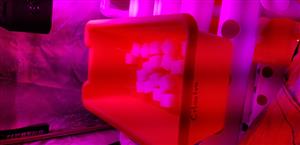
Recent
-
Here is where I will keep a running list of items that I think you will probably need for your lab. Please comment if you think I could use something else!
- PVC pipe system - you can build this, but we had PTO money so we bought one that was already precut. It came in a big box and we had to assemble, but it was worth it. If you have a shop class that needs a project, this may be it! Design plans are all over the internet.
- UV light - Plants cannot grow indoors without that light.
- UV Tent - absolute must to keep from burning out the eyeballs of everyone!
- Large but low-walled plastic bucket - Put under the PVC pipe system to hold the water and water pump.
- 5-gallon bucket(s) - I have 2 because that is about how much water is needed for this particular setup. I fill them up about 3/4 full in the custodian's room and carry them to my classroom. It's my workout for the day! I change out the water and nutrients about every 2 weeks. Once a month I give the bucket that holds the water and water pump a good cleaning by wiping it out after draining the water.
- Sharpie - Label EVERYTHING!
- Paper towels - I spill water and nutrients everywhere. I also use them to wipe down the pipes when algae/mold start to grow
- Old Towels - Nothing like a leak over the weekend to learn why you need these...
- Plastic bucket - I hold all my supplies in this. Plastic is best when working with water. I've had to modify the size as I have learned what I can and cannot do.
- Zip ties - I used these to attach the UV light to the tent and to strap cords and whatnot to the frame.
- Large, flat plastc tray - to start the seeds
- Random sized plastic buckets/containers - I use these to organize things like the small plastic transplanting baskets, seeds, sponges. They are also used for soaking the sponges, holding groups of seeds that have started sprouting in the sponges.
- Various sized plastic cups - Put plants in to give to people after they have matured, measure nutrients, etc.
- Transplant baskets - These are the things that you put the sponges in. I keep reusing them (after I clean them in a disinfectant)
- Seedling sponges - after the seeds pop out some little feelers (this occurs (usually) after you have taken the soaked seeds and put them in-between wet paper towels for about a week)
- Clorox - to disinfect everything between the shutting it down (like during the summer) and starting them up. I also use it to clean the baskets.

